
Learn How to Install PU Wall Panels Step by Step
PU wall panels offer an efficient way to transform ordinary walls into visually striking surfaces without the complexity associated with many traditional decorative materials. Their lightweight construction makes them easier to handle, position, and install across a variety of residential and commercial applications.
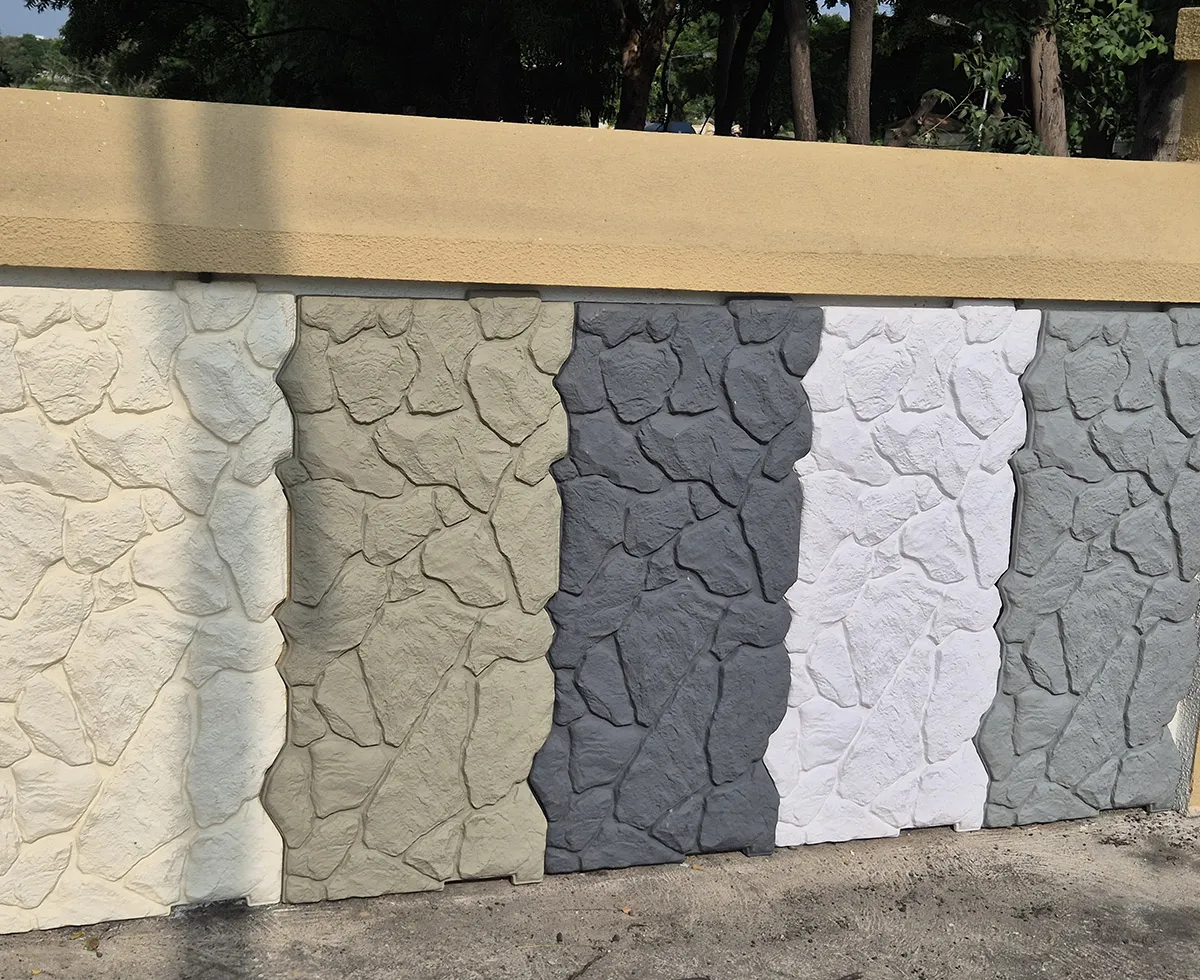
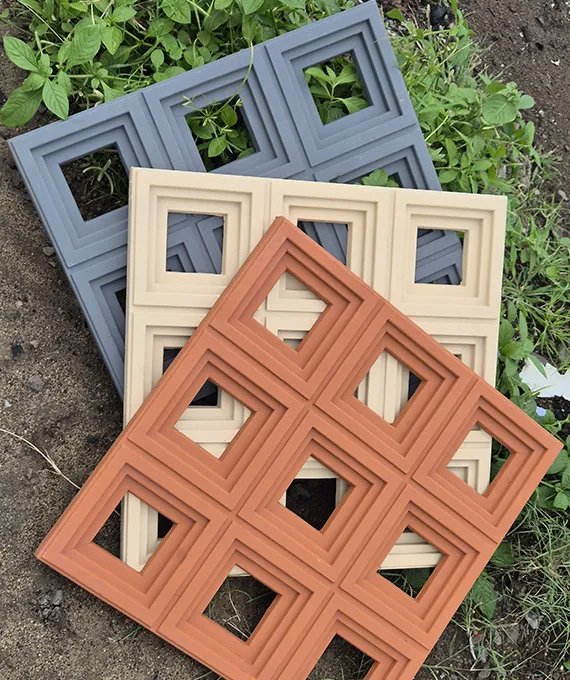
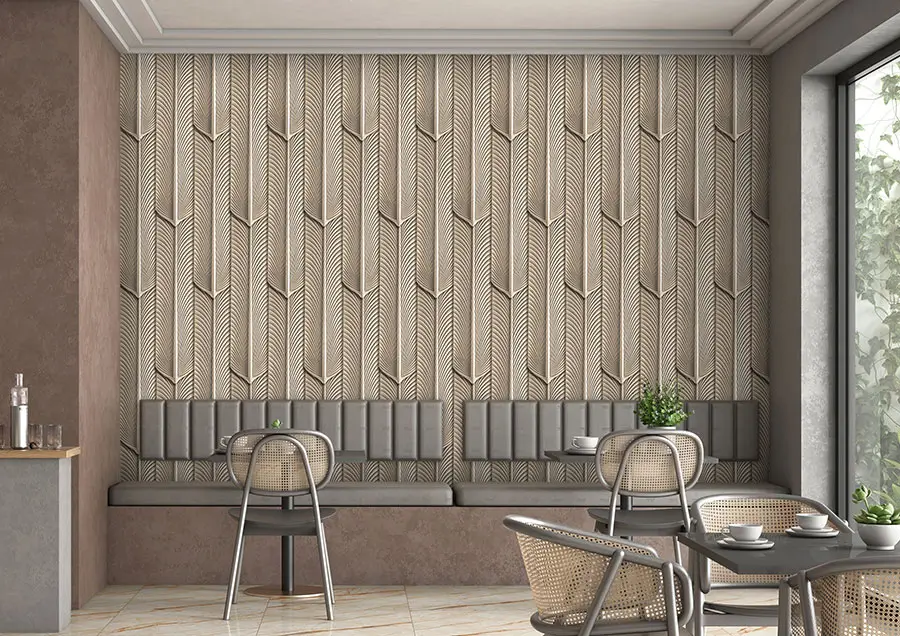
Whether you're installing PU stone wall panels, PU brick wall panels, PU rock wall panels, or 3D PU wall panels, following the correct installation process is important for achieving proper alignment, clean joints, and a professional-looking finish.
This PU wall panel installation guide walks you through the process from preparing the wall and planning the layout to fixing the panels and completing the final finishing.
Watch Installation Video (opens on YouTube in a new tab)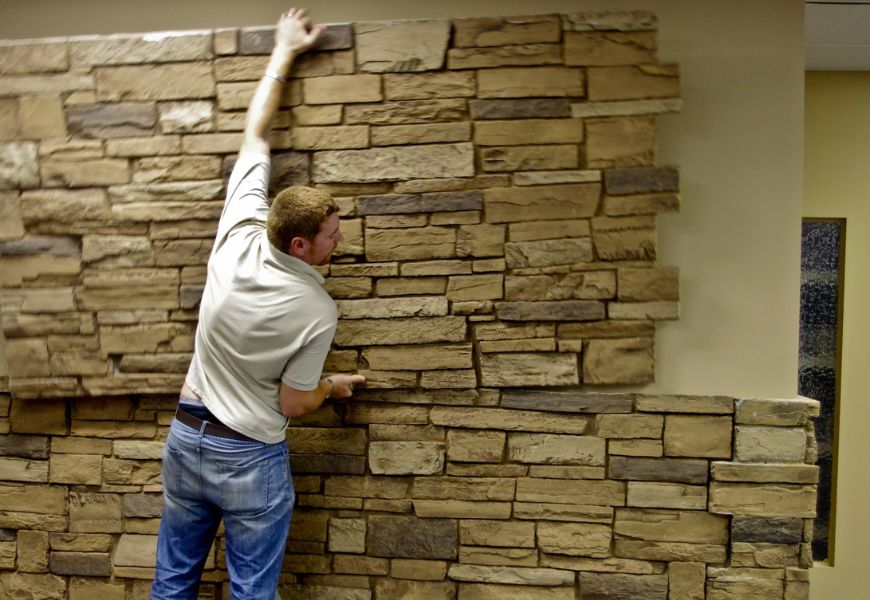
Tools & Materials Required for PU Wall Panel Installation
Having the right tools and materials ready before starting can make the installation process smoother and help achieve a cleaner result. Depending on the panel, wall surface, and project requirements, you may need:
PU Wall Panels
Your chosen design from our collection
Construction Adhesive
Compatible with PU & substrate
Measuring Tape
For accurate dimensions
Pencil or Marking Tool
For layout planning & cut lines
Spirit Level
To confirm correct alignment
Cutting Tool / Utility Knife
For trimming panels to size
Adhesive Applicator / Trowel
Where applicable
Screws or Nails
Where additional fixing is required
Drill / Screwdriver
Where applicable
Matching Filler or Sealant
For joints and edges
Touch-up Paint / Finish
Where required
Cleaning Cloth
For surface prep and final clean
Always select adhesives, fixings, cutting tools, and finishing materials that are compatible with the specific PU panel and substrate being installed.
How to Install PU Wall Panels
Prepare the Wall Surface
Good installation begins with proper surface preparation. Before installing PU wall panels, inspect the wall and make sure the installation surface is clean, dry, stable, and free from loose material, excessive dust, oil, or debris that could interfere with adhesion. Remove anything that may prevent the panel from sitting correctly against the wall and address significant unevenness before beginning installation. Prepare the panels according to the requirements of the installation environment before fixing them to the wall.
Measure the Wall & Plan the Layout
Accurate measurement is one of the most important parts of PU wall panel installation. Measure the height and width of the installation area and calculate how the panels will be positioned before applying adhesive. Plan the layout carefully around corners, wall edges, doors, windows, electrical outlets, switches, and architectural features. A dry layout or preliminary marking can help you understand where full panels and cut panels will sit, and prevent narrow or awkward cuts appearing in highly visible areas.
Measure & Cut the PU Wall Panels
Once you've established the layout, measure any panels that need to be adjusted around edges, corners, switches, sockets, or architectural details. Clearly mark the required cutting line before cutting. Use an appropriate cutting tool for the specific panel and work carefully to achieve a clean edge. Measure twice before making the final cut, particularly when working around corners and fixtures. After cutting, position the panel against the wall without adhesive to confirm that the size and alignment are correct.
Apply the Adhesive
Once the panel has been measured and prepared, apply a suitable adhesive to the back. The adhesive should provide sufficient and even contact between the panel and wall according to the adhesive manufacturer's recommendations and the condition of the substrate. Avoid using an adhesive simply because it is described as a general construction adhesive — compatibility with both polyurethane and the wall substrate should be confirmed before installation.
Position & Fix the First Panel
The first panel establishes the alignment for the rest of the installation, so take extra care with its position. Begin from the planned starting point and carefully place the PU wall panel against the wall. Use a spirit level to confirm that the panel is correctly aligned — checking vertical alignment, horizontal alignment, edge position, pattern direction, and contact with the wall — before pressing it firmly into position according to the adhesive requirements.
Continue Installing the Remaining Panels
After positioning the first panel correctly, continue installing the remaining panels according to your planned layout. Place each panel carefully alongside the previous one and continuously check alignment rather than waiting until the entire wall is completed. For textured products such as PU stone wall panels, pay particular attention to the visual relationship between neighbouring panels. Where the installation system or substrate requires additional mechanical support, suitable nails or screws may also be used.
Finish Joints, Gaps & Edges
Once all the PU wall panels have been installed, inspect the complete surface for visible joints, gaps, exposed fixing points, or unfinished edges. Where appropriate, use compatible matching filler or finishing material to refine these areas. Touch-up paint or another suitable finish may then be applied where required to help blend joints and installation points with the surrounding panel texture. Take time with this stage — a carefully finished joint can make a significant difference to the final appearance.
Final Inspection & Cleaning
After installation and finishing are complete, inspect the entire wall from different angles. Check that panels are properly aligned, edges are securely fixed, joints are neatly finished, no excessive adhesive is visible, cut areas are properly finished, and the overall pattern appears consistent. Remove installation debris and clean the surface carefully using a method appropriate for the panel finish. Allow adhesives, fillers, sealants, or touch-up finishes to cure according to their respective manufacturer's instructions before subjecting the installation to normal use.
Tips for a Professional PU Wall Panel Installation
Small details can have a significant impact on the finished appearance of a wall panel installation.
Plan Before Fixing
Lay out the panel arrangement before applying adhesive, particularly when working with strongly textured stone or rock designs.
Check Alignment Frequently
Don't rely on the wall, floor, or ceiling being perfectly level. Use appropriate measuring tools throughout installation.
Plan Cut Panels Strategically
Where possible, position cut sections in less visually prominent areas of the wall.
Consider the Pattern
Rotate or position textured panels according to the intended design so the finished wall looks natural rather than repetitive.
Test Products First
If you're unsure about an adhesive, filler, sealant, or touch-up finish, test compatibility before applying it across the complete installation.
Follow Project-Specific Requirements
Interior, exterior, bathroom, fireplace-adjacent, and other specialised installations may require different adhesives, substrates, fixings, sealants, or installation considerations.
Watch PU Wall Panel Installation
Sometimes the easiest way to understand installation is to see it in action. Watch the Artisun Industries installation video to understand how PU wall panels are measured, positioned, fixed, and finished to create a professional decorative wall.
Watch the VideoWhere Can PU Wall Panels Be Installed?
Artisun's PU wall panels are used across interior and exterior decorative applications. Depending on the panel specification and installation environment, applications can include:
The appropriate substrate, adhesive, fixing method, sealing, and other installation requirements should always be determined according to the specific application.
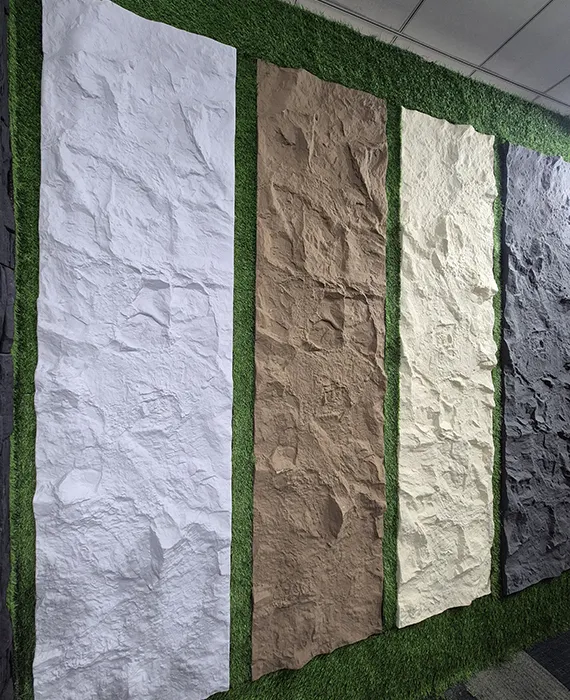
Designed to Make Installation Simpler
One of the key advantages of Artisun PU wall panels is their lightweight construction. Compared with traditional natural stone and similar heavy decorative materials, lightweight panels can simplify transportation, handling, positioning, and installation.
With a growing collection of stone, brick, rock, 3D, and contemporary textures, Artisun Industries provides decorative wall solutions for residential, commercial, hospitality, retail, and architectural projects.
Whether you're a homeowner, installer, architect, interior designer, contractor, or project developer, our team can help you select the right panel for your application.
Get in Touch Download Catalogue